Hello, readers! I'm finally getting time today to post this week's Tutorial Tuesday! It's on one of the most popular designs I did during the Digit-al Dozen September Spectacular! It is super duper easy and I know that EVERY one of you can pull it off!
There is only one tool required, and the biggest key to success with this design is PATIENCE! Take your time in between layers to let them dry completely so you don't get dragging of the hearts. Trust me on that one, I messed up in my original mani trying to speed up the process with no such luck.
You can do any colors you'd like, but the base color (Keepin' It Teal in my version) has to be a jelly. Preferably, a sheer jelly so you don't cover up the hearts too much. You can also do as many coats as you prefer. If you have a less sheer jelly, you don't need as many coats as I am showing below. You can also do other shapes instead of hearts, if dots or flowers are easier for you!
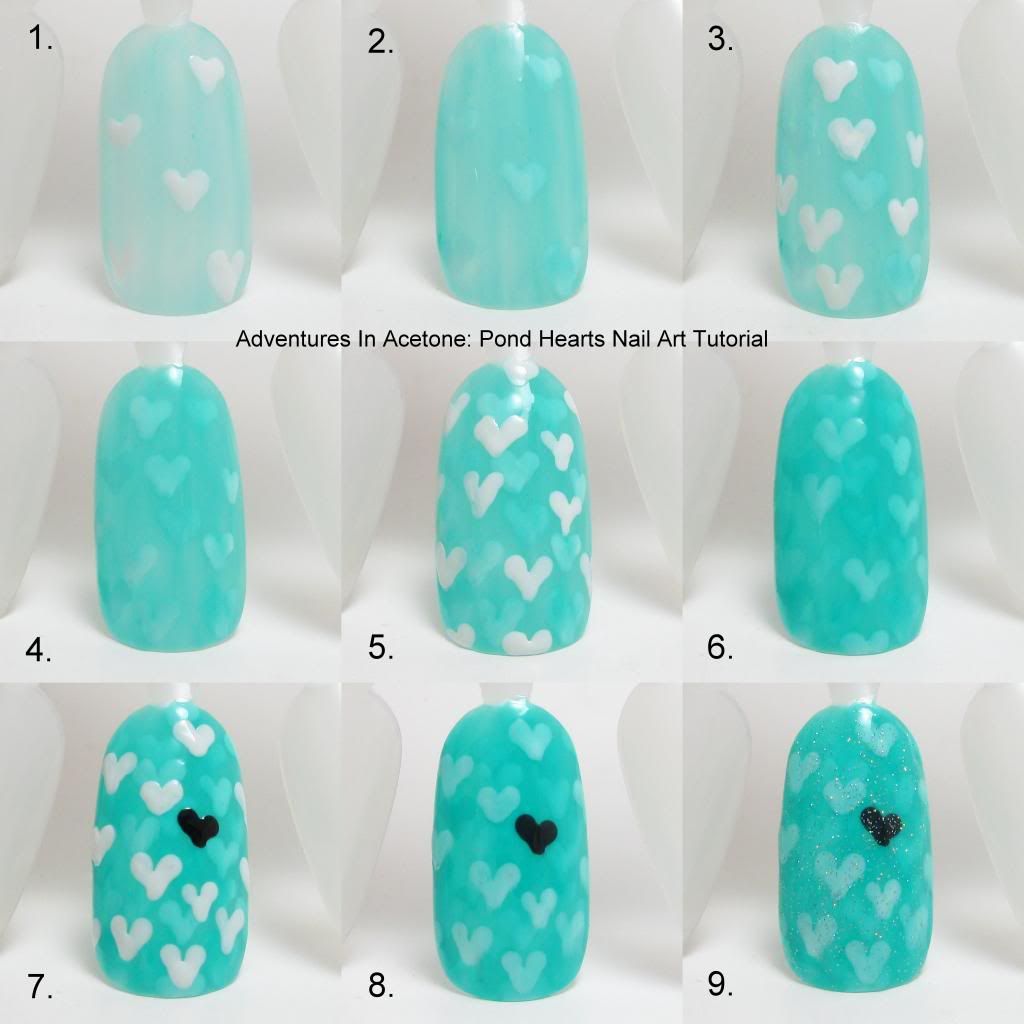
Here is a preview of the tutorial, you will see full sized pictures and step by step instructions further down in this post:
![photo PondHeartsTutorialCollage.jpg]()
Here's a flashback to the full mani design:
![]()
Let's begin, shall we?
Things needed for this tutorial:
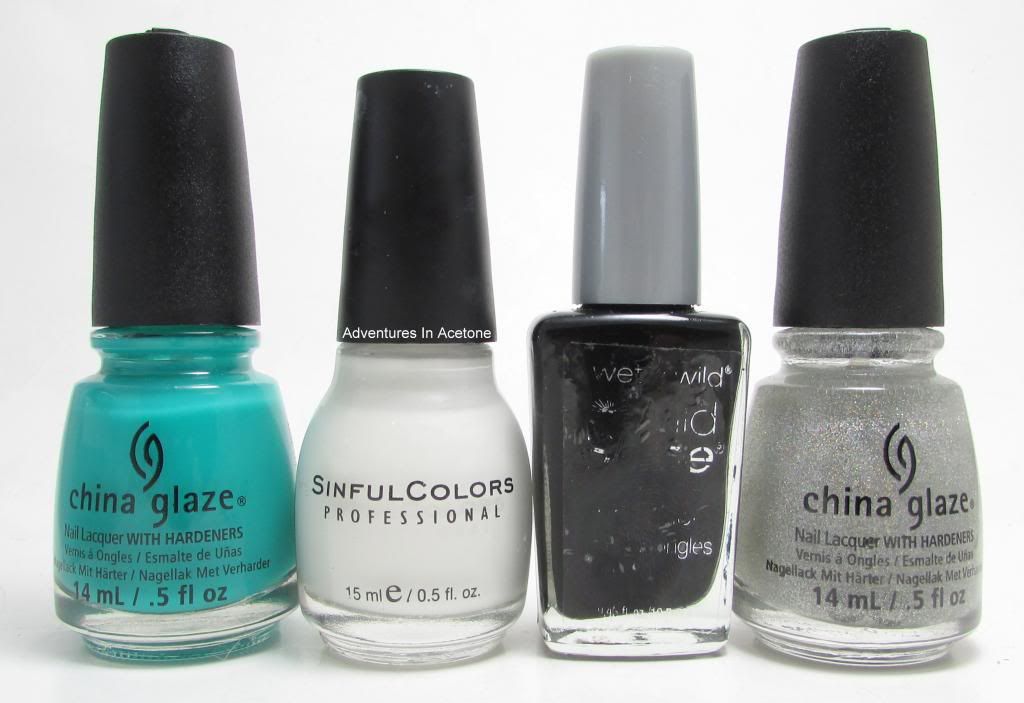
![photo PondHeartsNailarttutorialpolish.jpg]() China Glaze Keepin' It Teal, Sinful Colors Snow Me White, Wet n Wild Black Creme, China Glaze Fairy Dust.
China Glaze Keepin' It Teal, Sinful Colors Snow Me White, Wet n Wild Black Creme, China Glaze Fairy Dust.
![photo PondHeartsNailarttutorialtools.jpg]()
![photo PondHeartsNailarttutorialstep1.jpg]()
![photo PondHeartsNailarttutorialstep2.jpg]()
![photo PondHeartsNailarttutorialstep3.jpg]()
![photo PondHeartsNailarttutorialstep4.jpg]()
![photo PondHeartsNailarttutorialstep5.jpg]()
![photo PondHeartsNailarttutorialstep6.jpg]()
![photo PondHeartsNailarttutorialstep7.jpg]()
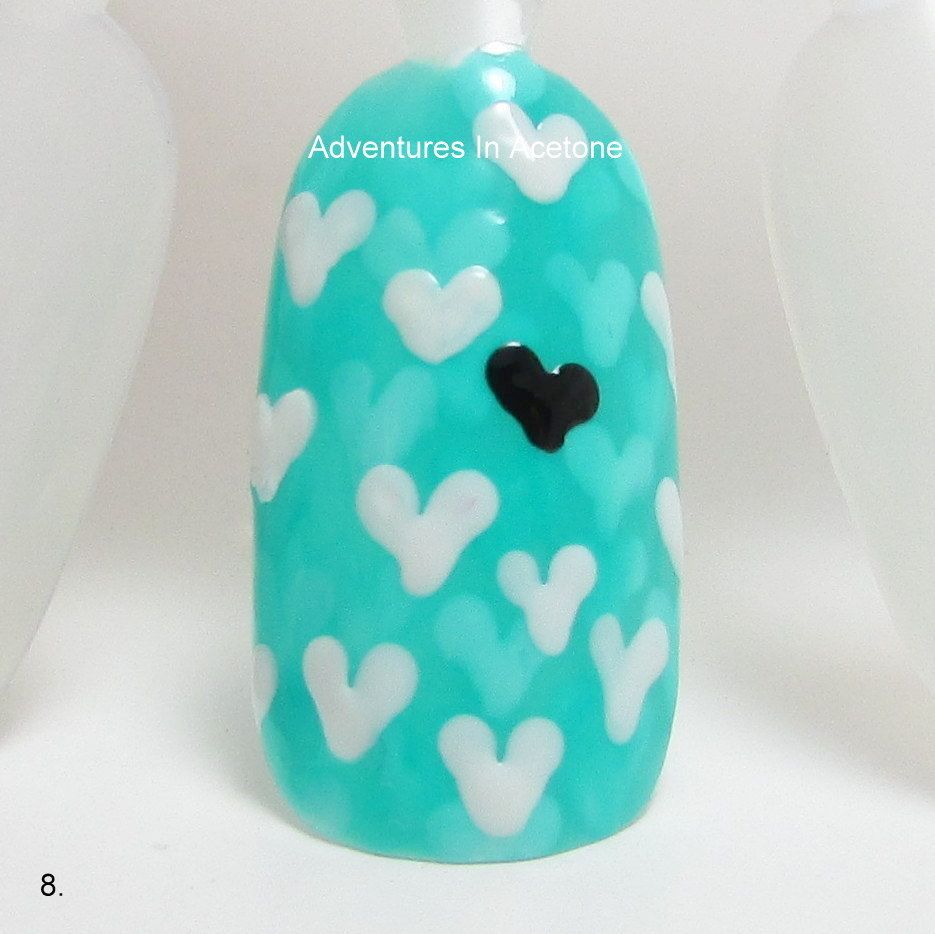
![photo PondHeartsNailarttutorialstep8.jpg]()
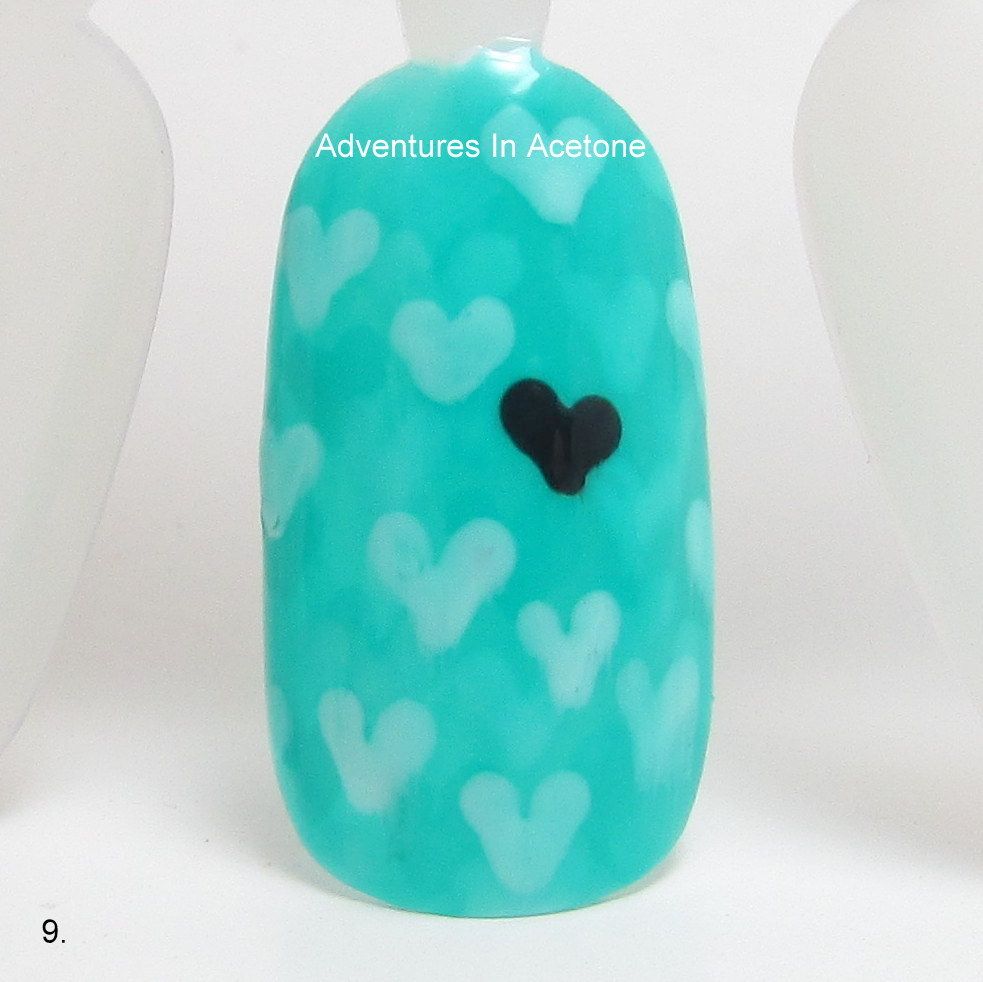
![photo PondHeartsNailarttutorialstep9.jpg]()
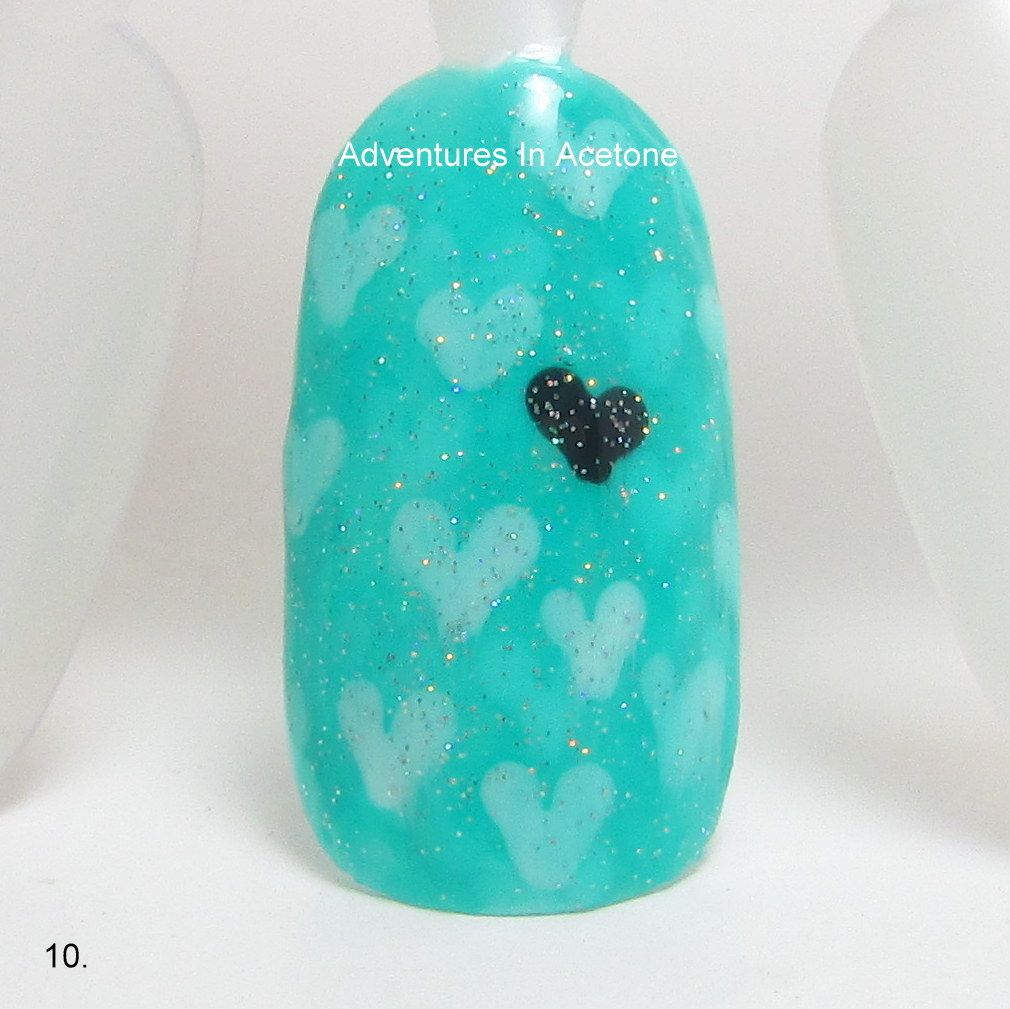
![photo PondHeartsNailarttutorialstep10.jpg]()
There is only one tool required, and the biggest key to success with this design is PATIENCE! Take your time in between layers to let them dry completely so you don't get dragging of the hearts. Trust me on that one, I messed up in my original mani trying to speed up the process with no such luck.
You can do any colors you'd like, but the base color (Keepin' It Teal in my version) has to be a jelly. Preferably, a sheer jelly so you don't cover up the hearts too much. You can also do as many coats as you prefer. If you have a less sheer jelly, you don't need as many coats as I am showing below. You can also do other shapes instead of hearts, if dots or flowers are easier for you!
Here is a preview of the tutorial, you will see full sized pictures and step by step instructions further down in this post:
Here's a flashback to the full mani design:

Let's begin, shall we?
Things needed for this tutorial:
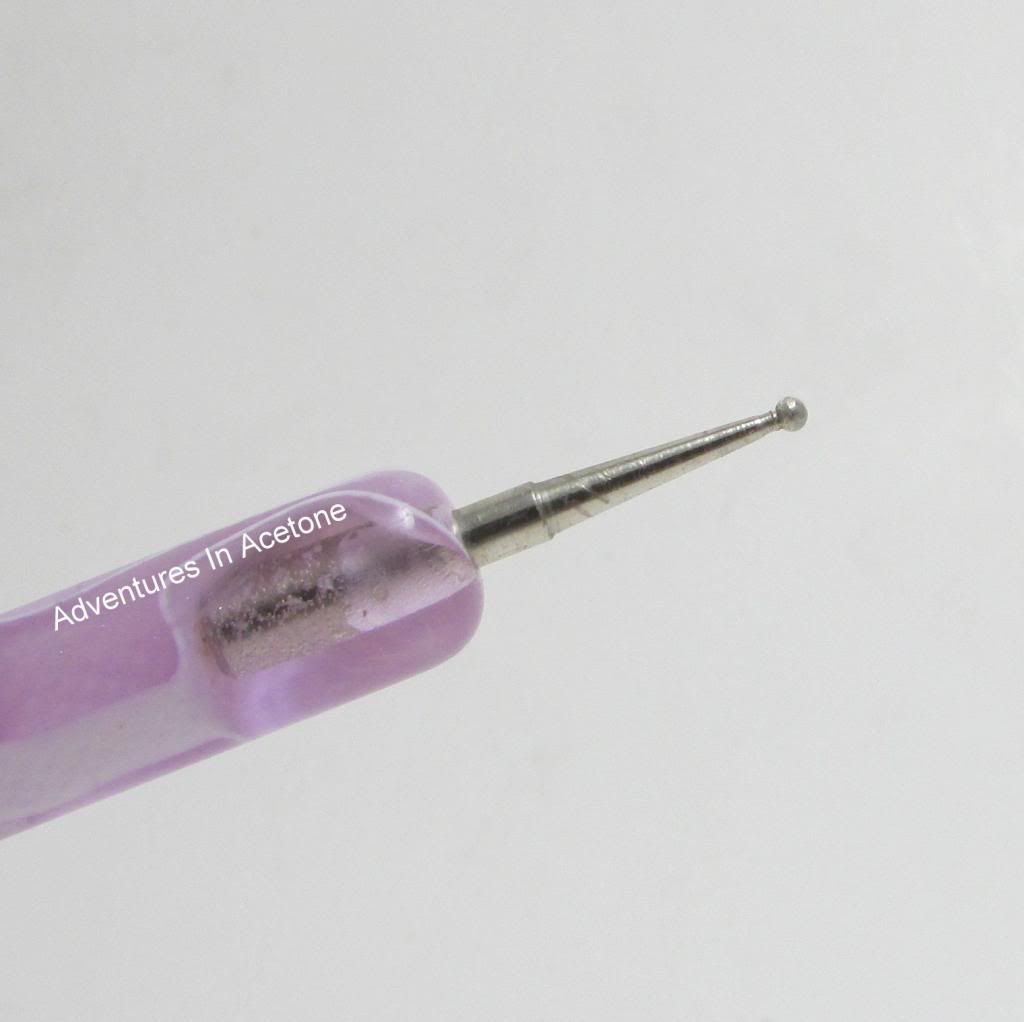
Small dotting tool
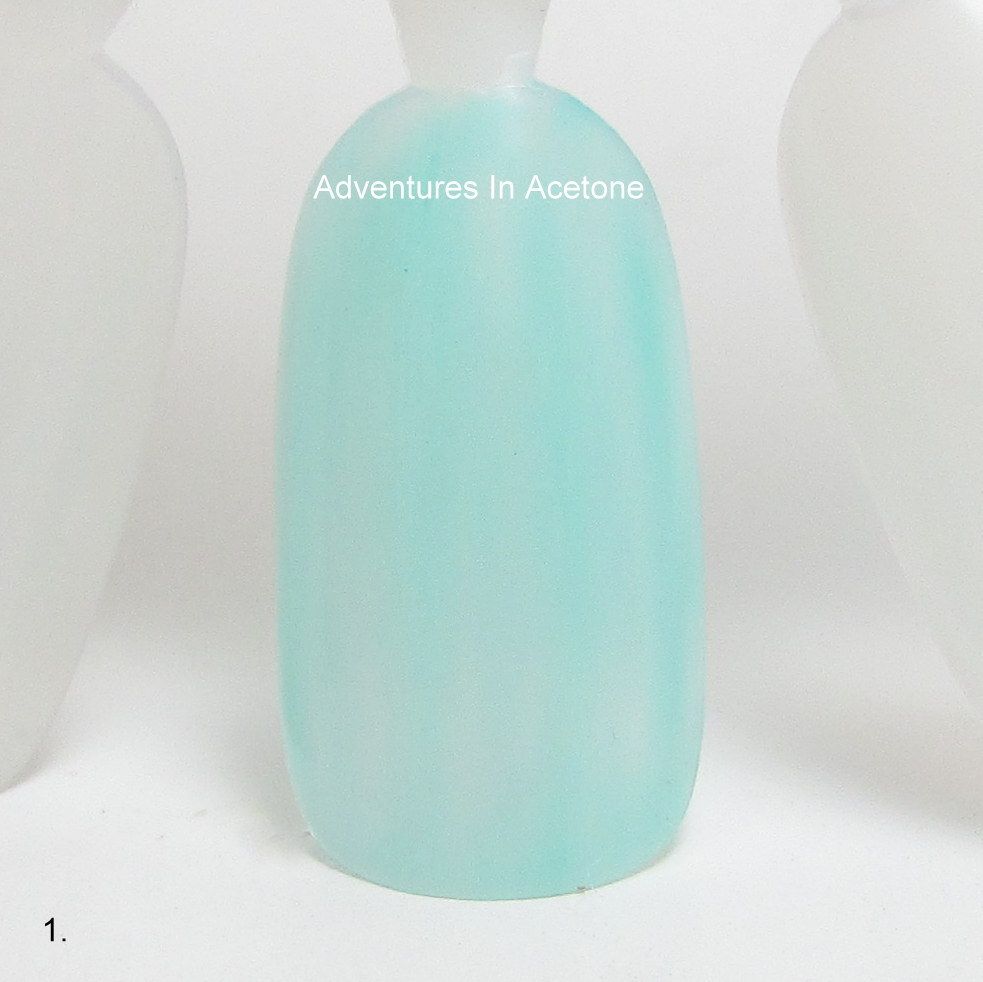
Step 1) Paint one coat of China Glaze Keepin' It Teal and let dry.
Step 2) Dip your small dotting tool in the Sinful Colors Snow Me White and do V shapes to make the appearance of hearts on the nail. Do these random and spread out, we will be filling in more in the upcoming steps. Let dry completely.
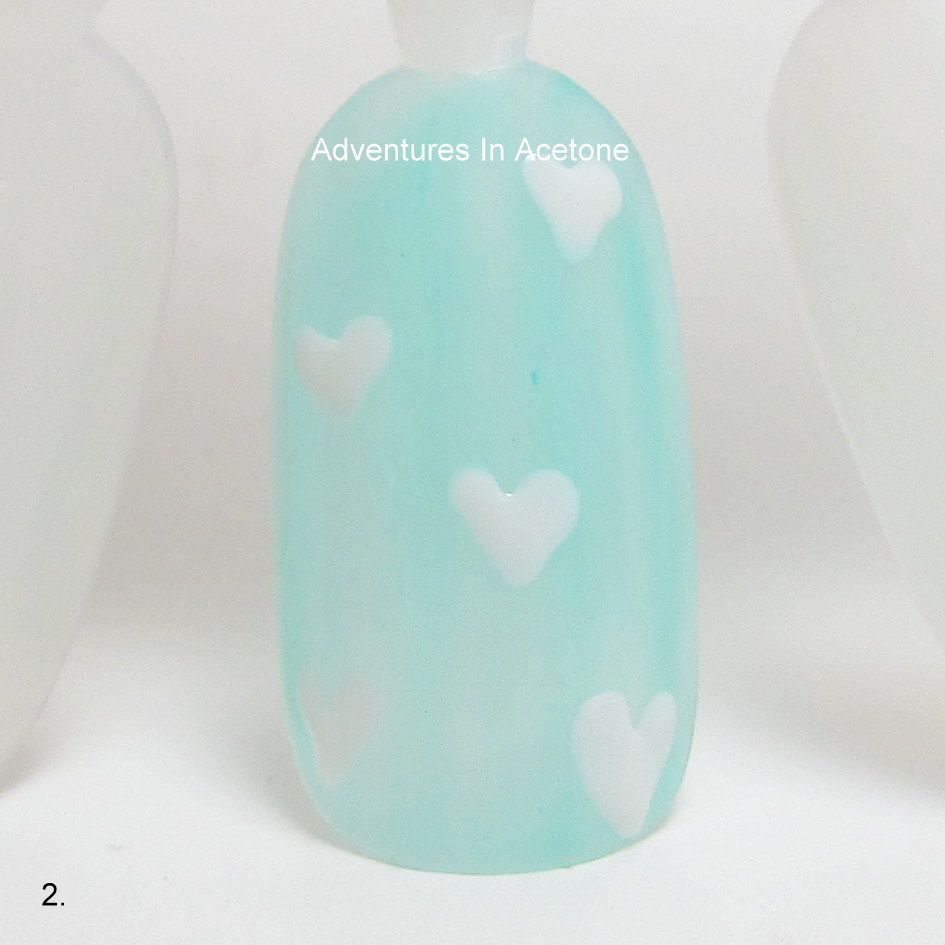
Step 3) Paint one coat of China Glaze Keepin' It Teal over the hearts. Let dry.

Step 4) Again, use the small dotting tool to make white hearts randomly over the nail. Let dry completely.
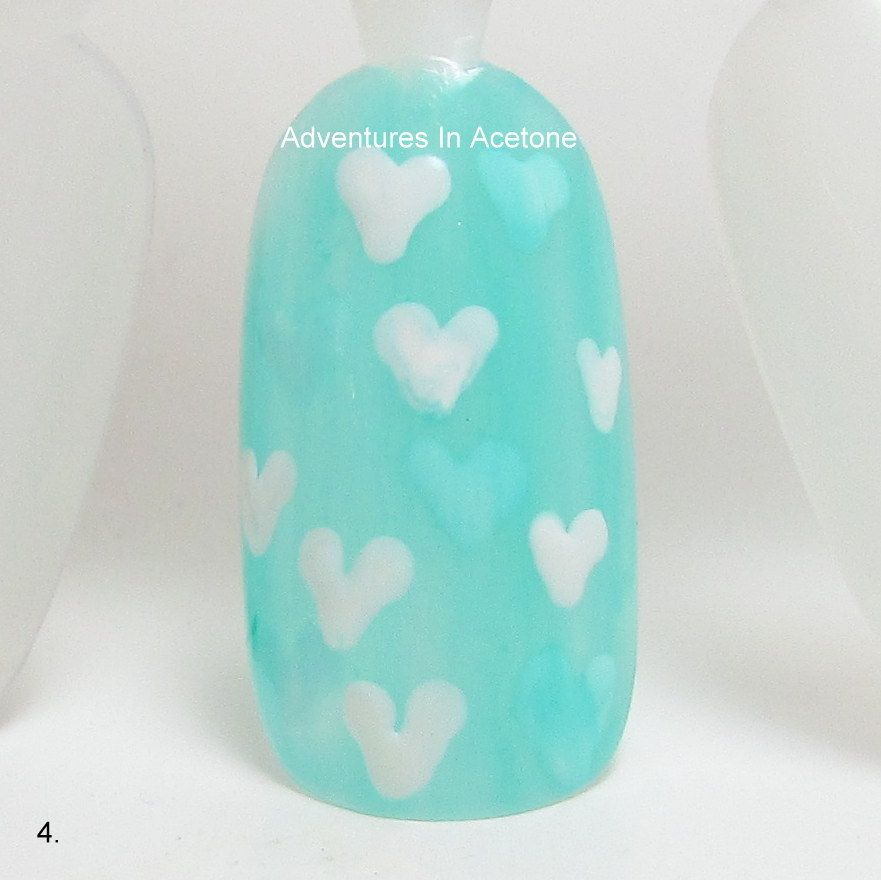
Step 5) Do another coat of China Glaze Keepin' It Teal over the hearts. Let dry.
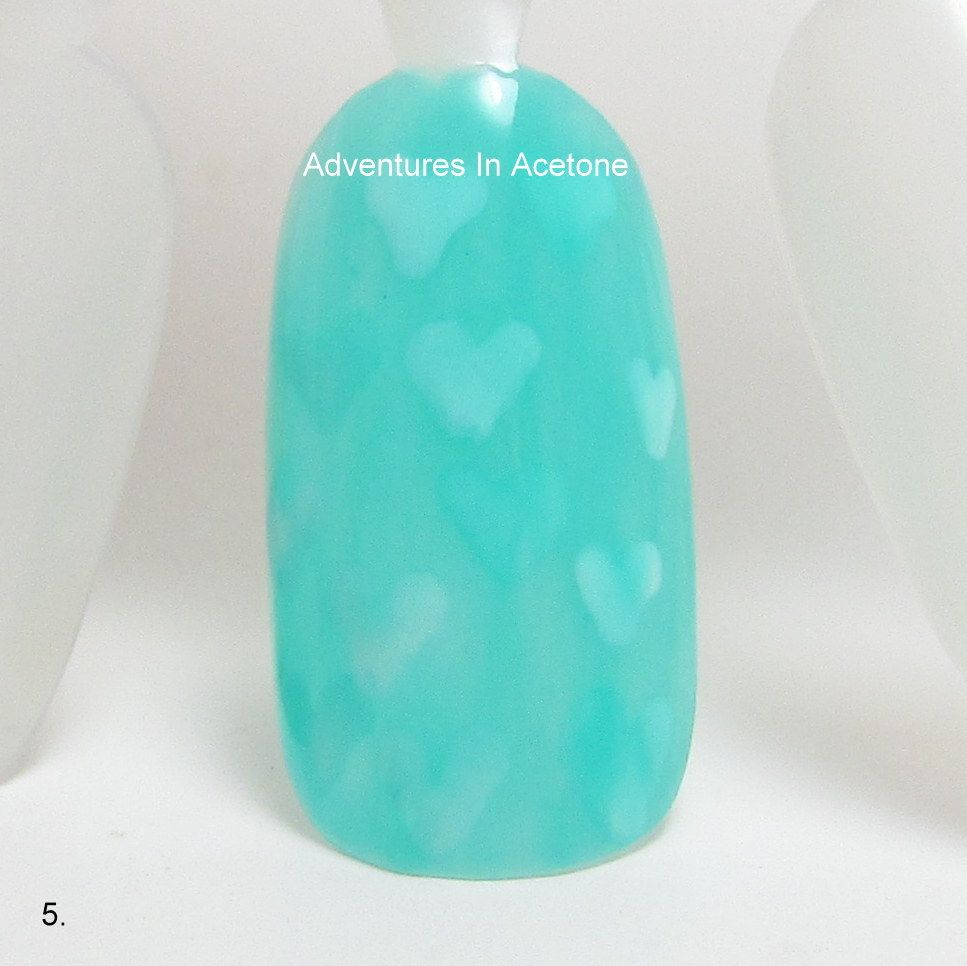
Step 6) Use the dotting tool and Snow Me White to do more hearts randomly over the nail. Don't worry if you overlap the other heart layers, I think it adds a nice look when they do overlap. Let dry completely.
Step 7) Paint another coat of China Glaze Keepin' It Teal and let dry.
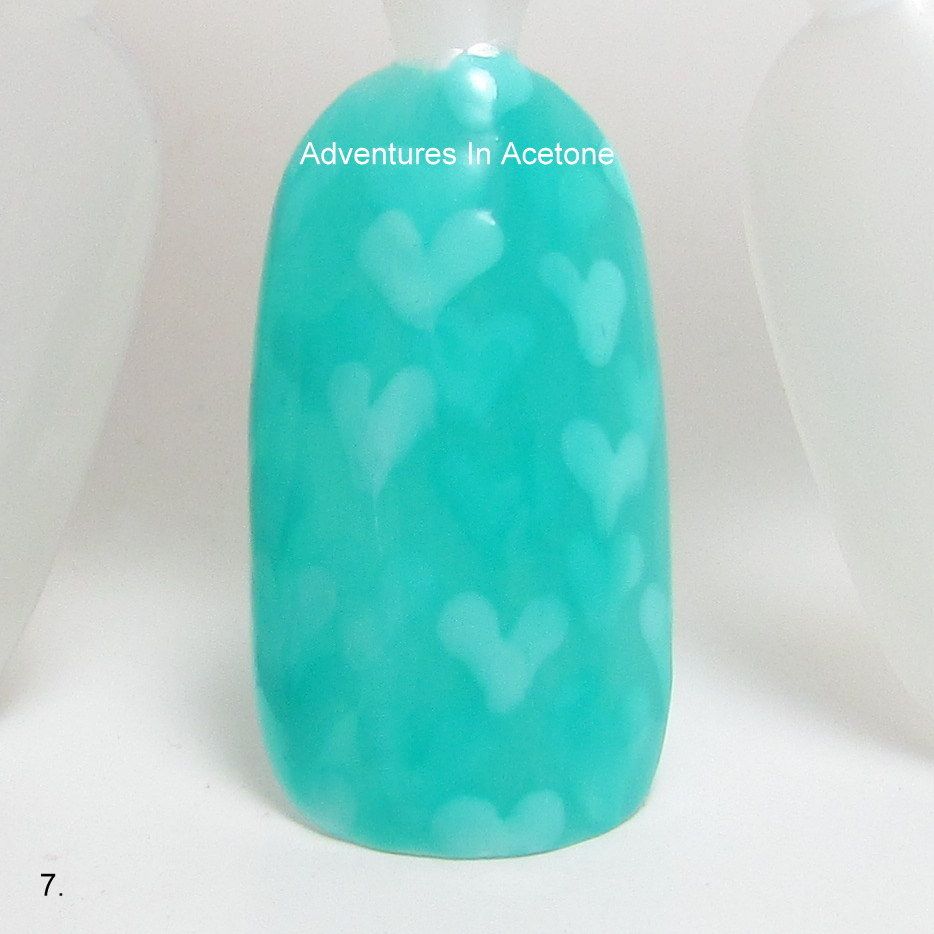
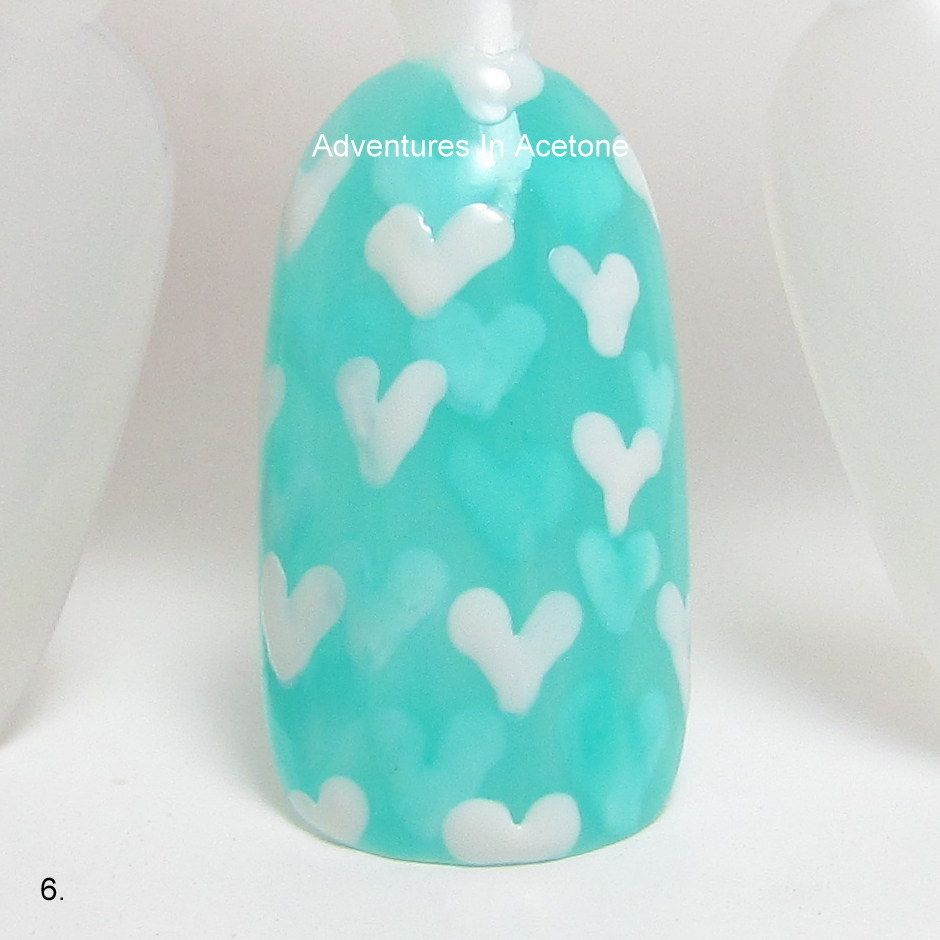
Step 8) Do your final layer of white hearts and add in a black one. Don't forget to do some off of the sides or tip and overlap any bare holes. Let dry completely.
Step 9) Do your final coat of China Glaze Keepin' It Teal. You can stop at this layer if you don't want to add the extra sparkle and just do top coat over this.
Step 10) Do one coat of China Glaze Fairy Dust to add some added sparkle.
Don't forget to add a thick, quick drying top coat to protect and seal in your design! I prefer Seche Vite, H K Girl Top Coat, or Poshe. Put a thick bead of top coat on the brush and gently spread it toward the tips and sides, taking great care to not let the bristles touch the polish underneath. Thinner top coats can cause streaking or bleeding of the colors and the bristles drag lines through the design. YOU'RE DONE!
What do you think of this tutorial? Will you be trying it? If you try this, or any others, please share your pic on my Facebook page or tag me on instagram! I'd love to see them! Thanks for reading!